Saturday, October 17, 2009

CONCEPT DEVELOPMENT 3


The third concept is with angled seating area, making it more of a relax chair and highly comfortable, with the armrests and all. The folding pattern took a while to figure out and experimented with, let alone the locking system, but pulled it off in the end. The locking system was a bit difficult to do as some of it are to be placed in tight spaces somewhere in the fold, making it very hard to squezze in the lock.


CONCEPT DEVELOPMENT 2


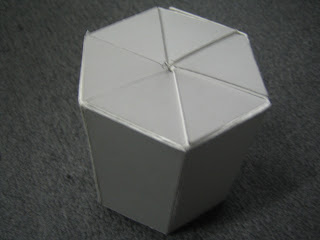
One thing about this concept is the flat pattern which does not look confusing but the end product is nice. The fold is simple, with the flaps all go around interlocking each other before they all end up at certain point as to lock the structure. One thing about this stool is that, it’s quite rigid and real strong, although it looks really stiff.


CONCEPT DEVELOPMENT 1


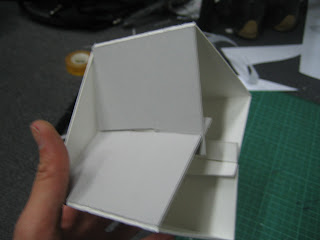
My first concept is a basic squarish stool, which is compact and can be carried around easily. The locking system resides at the base of the stool, with two structures connects together at either sides of the stool, via slotting mechanism. As can be seen from the flat pattern as well, that it is simple and easy to produce but still is highly functional, and more importantly, due to the structural at base, i assume it can hold massive weight.

My other idea with this concept is to express space and minimalistic design, with plain surfaces on the stool, allowing graphic art or print to be placed on it.


ESQUISSE FOUR

My idea is to use locking system in which all the elements involved is interlocked and intersected with each other and maybe, something like, one thing overlays another. I found that it worked effectively, such a simple system, consists of 4 similar flaps shapes that is assembled with interlocking system. I always imagined it to be something like a web, which is very closely and strongly connected.


ESQUISSE THREE

>


The flat pattern for locking system structure. This will fold to be a box that will be used as the base of the construction.


This is what the final construction looks like. I started out by making the base, as I explained above, and then making small cuts to accommodate the slotting mechanism. I’m using slotting mechanism for this, as although it’s not the most inventive system, but I thought it would be effective as it is sturdy and can be very secure. The picture shows the final model with the slotting mechanism inside the box.